This is an article about how to add an email account in DirectAdmin for Ballito Hosting.
In order to create a new email account, you will need to log in to your Direct Admin account. Once logged in, navigate to the “Email Accounts” section and click on “Create mail account”. You will then need to enter your desired email address, set a password, and choose a mailbox size limit. After filling in all the required information, click on the “Create Account” button to complete the email account setup.
Log in to Your DirectAdmin Account:
-
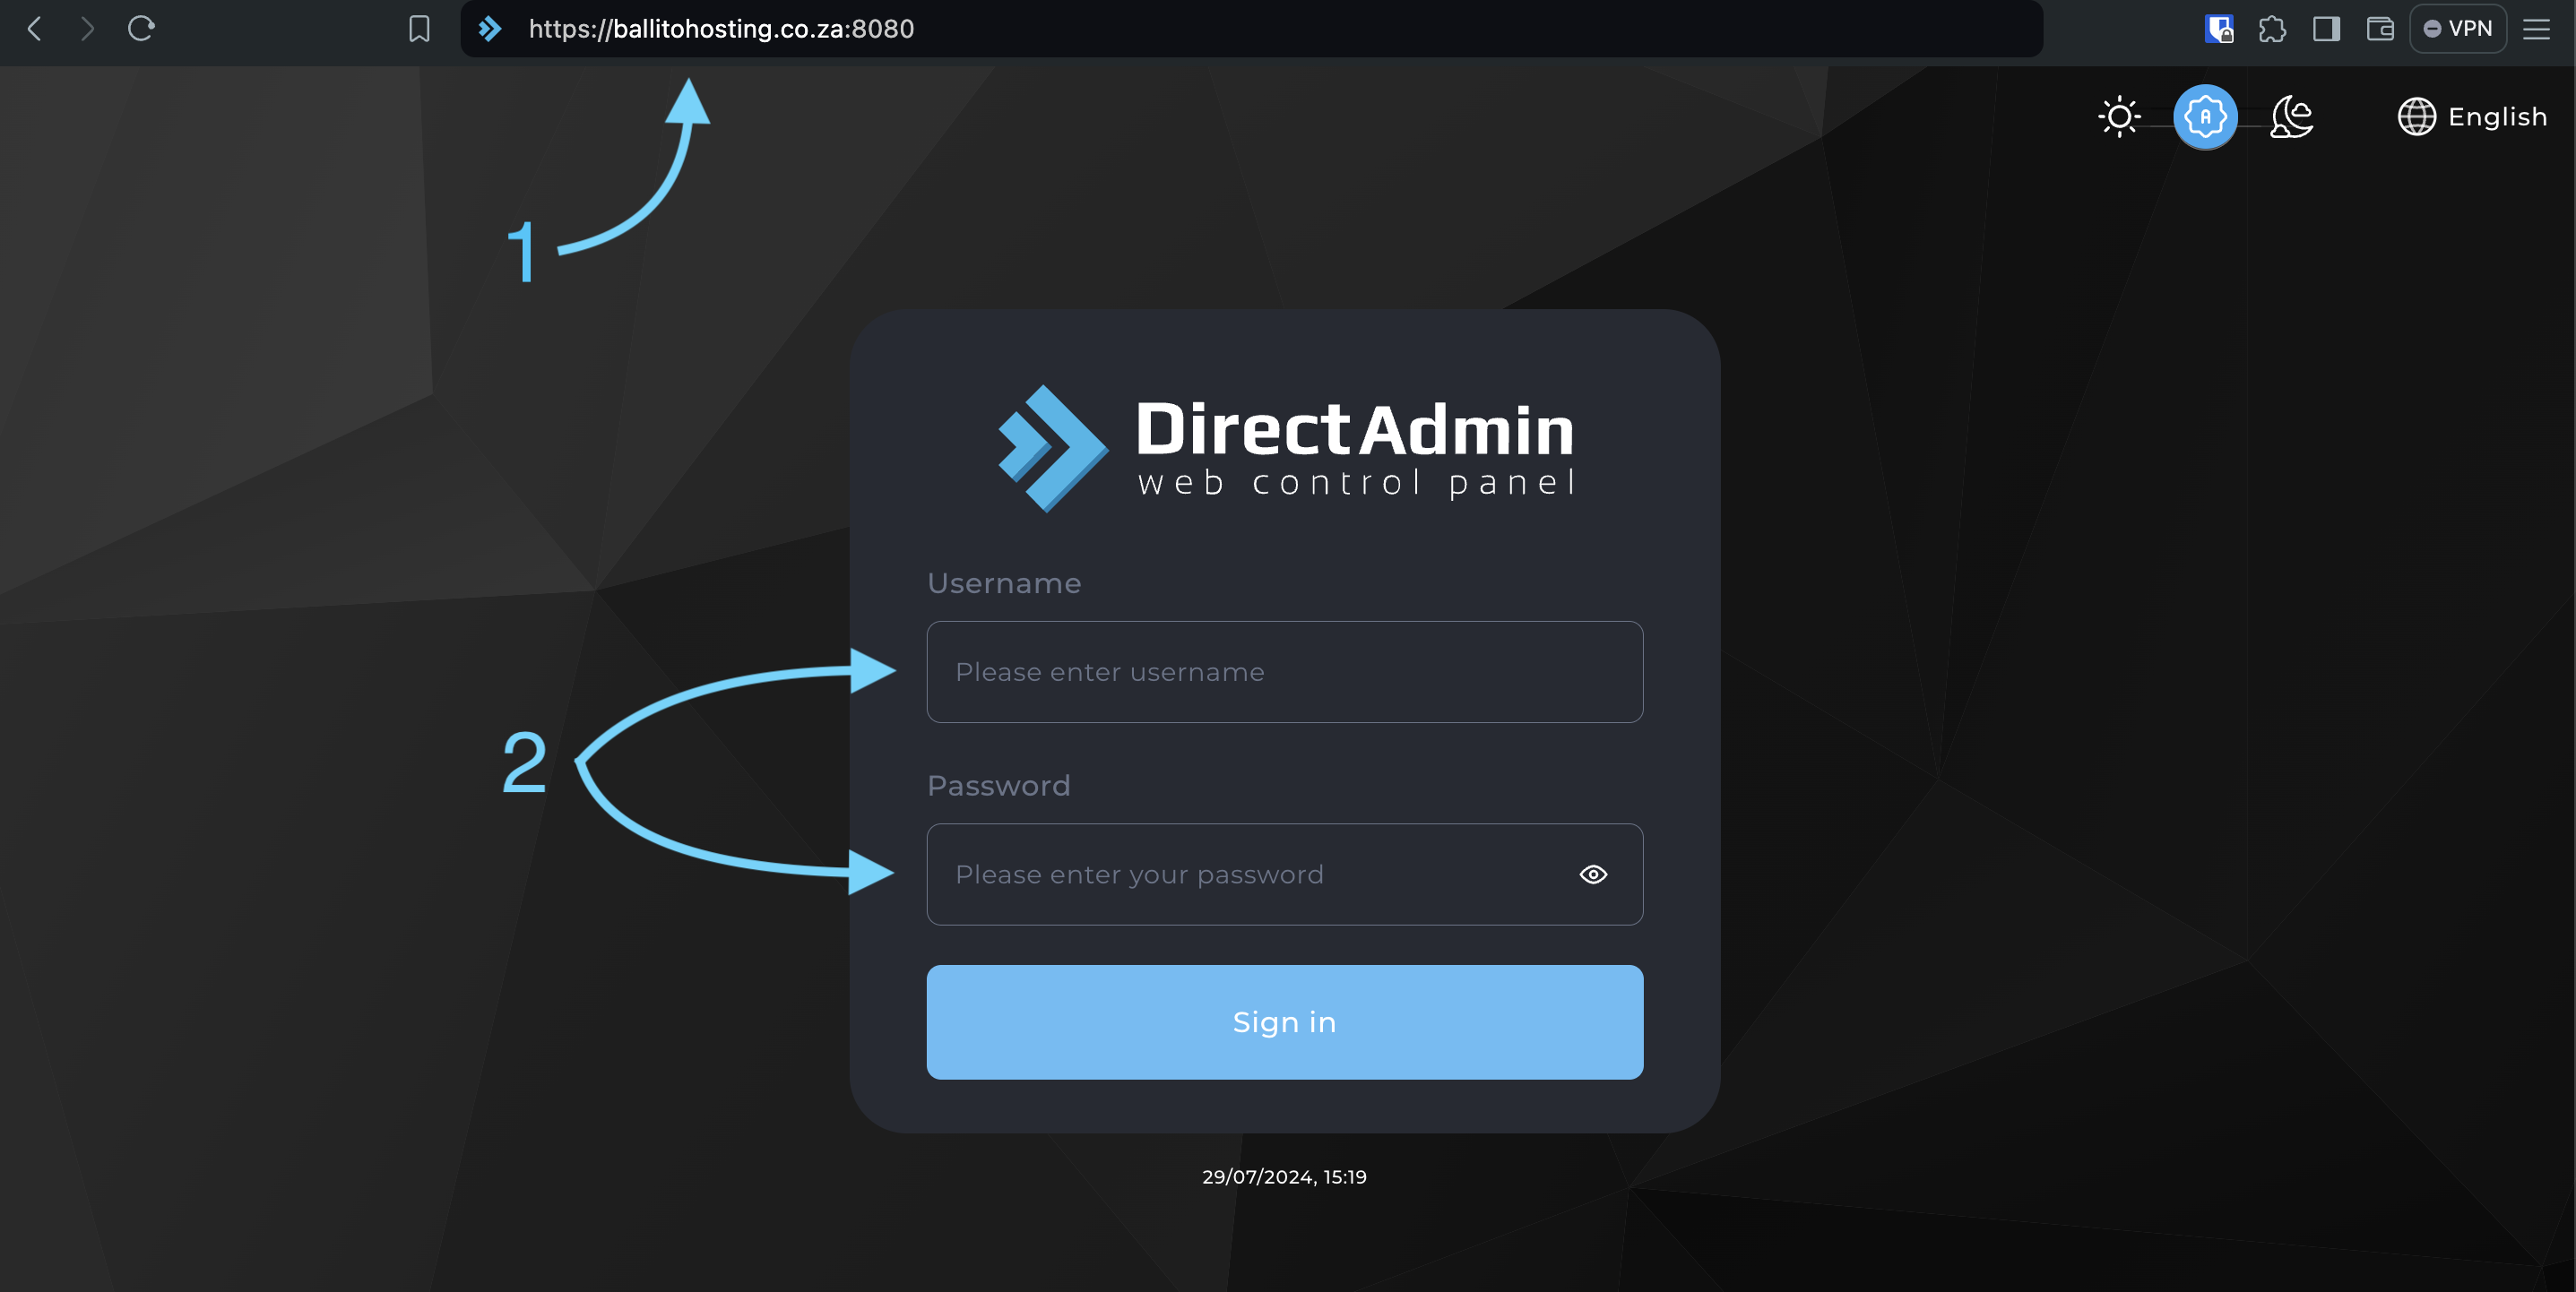
- Start by navigating to your website’s DirectAdmin login page. This is usually accessible through a URL like: (
"yourdomain.com":8080), replacing “yourdomain.com” with your actual domain name. - Enter your DirectAdmin username and password. These credentials are provided when you sign up for your hosting package.
- Start by navigating to your website’s DirectAdmin login page. This is usually accessible through a URL like: (

Navigate to the “Email Accounts” Section:
-
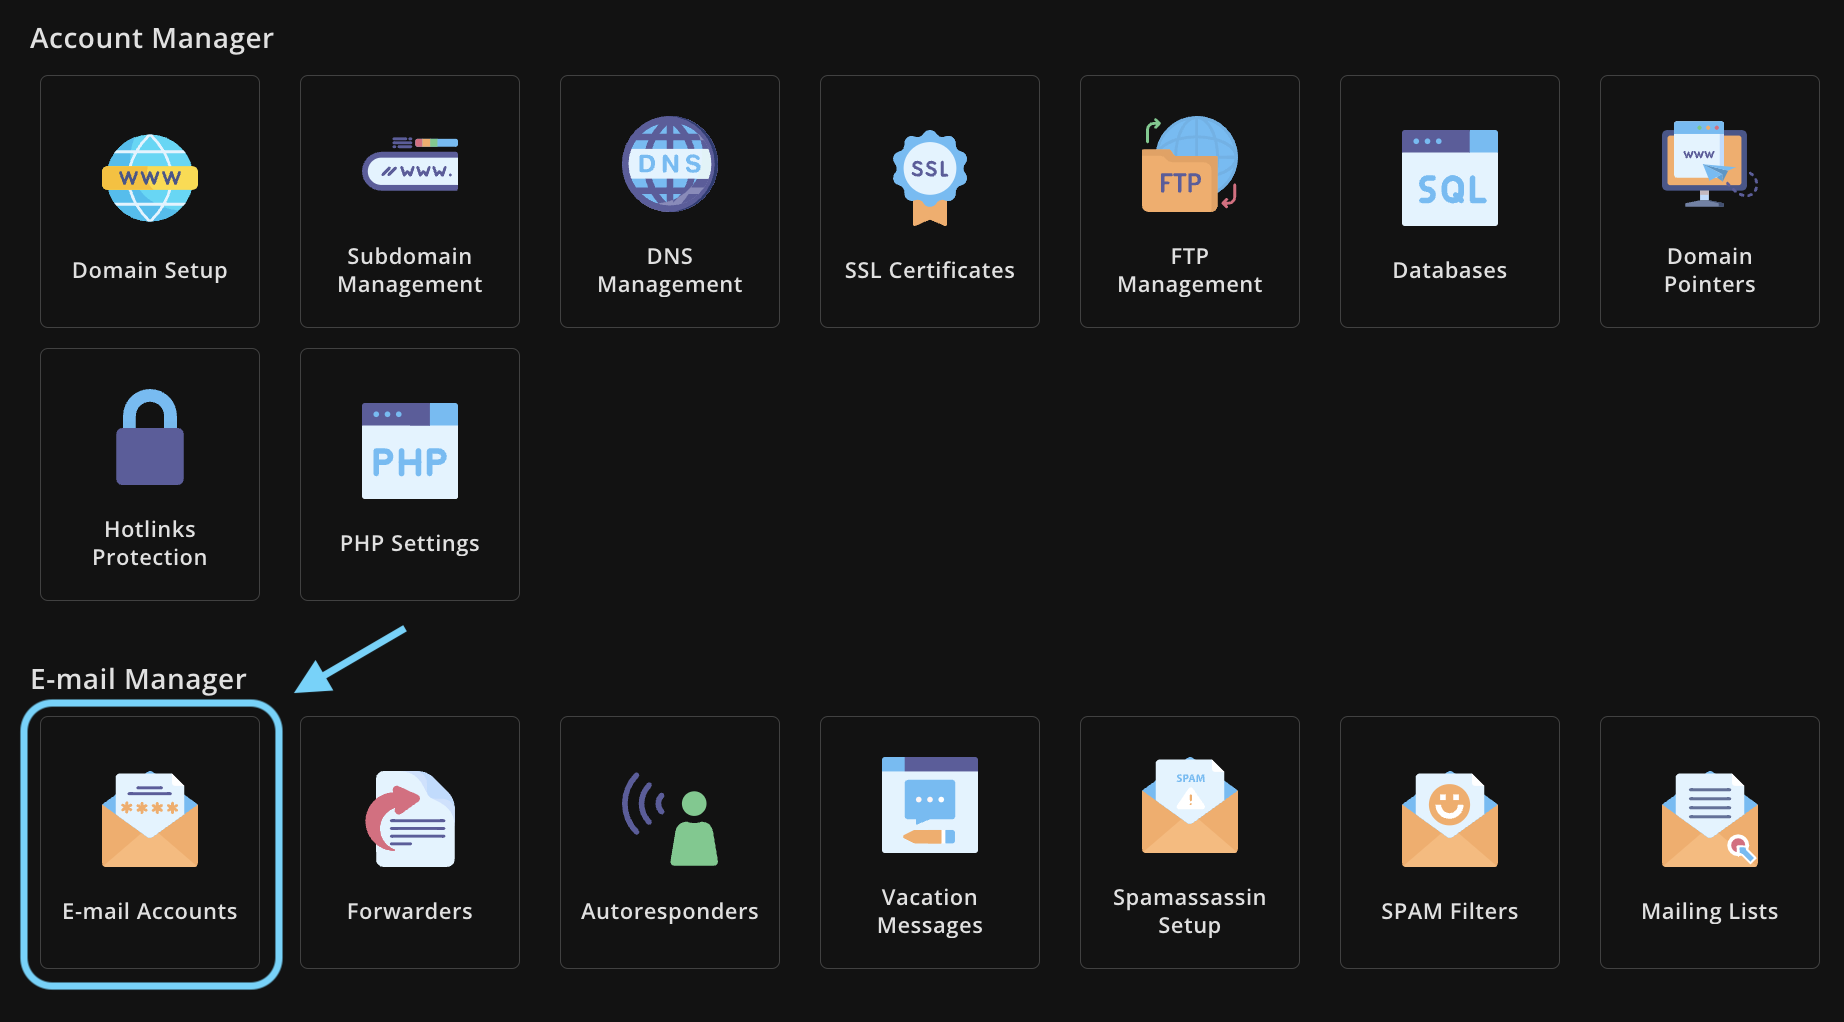
- Once logged in, look for the “Email Management” or “Email Accounts” section within the DirectAdmin dashboard. The exact location may vary slightly depending on the specific DirectAdmin theme you’re using, but it’s usually prominently displayed.

Click on “Create Mail Account”:
-
- Within the “Email Accounts” section, you’ll find a button or link labeled “Create Mail Account.” Click this to start the email creation process.

Input Your Email Address Details:
-
- In the “Username” field, enter the name you want to use before the “@” symbol in your email address (e.g., “info”).
- Enter a strong, unique password for your new email account. Ensure it’s a combination of uppercase and lowercase letters, numbers, and symbols for maximum security. Avoid using easily guessable passwords like your name or birthday.
- Here, you can set a limit on the amount of storage space your email account can use. If you leave this blank or select “Unlimited,” the account will use your overall account’s disk space as needed.
- After you’ve filled in all the required information, simply click the “Create” (or similarly labelled) button to finalize the process.

Access Your New Email Account:
-
- Congratulations! Your new email account has been created successfully
- Save the summary details to use on your email client.

